In this post we will design a simple UX to build upon the previous posts where we set up an MCP Server (Part 1) to handle tool-based actions and a Langchain Agent (Part 2) to connect user prompts to those tools . This UX will let users enter prompts and get AI-powered results in real time.
The Goal
Build a friendly web page with:
- A textbox for entering prompts
- A button to submit the query
- A display area for the agent’s response
- Live communication with a FastAPI backend
The Frontend:
Here’s a simple HTML/JavaScript layout:
Index.html
<html>
<head>
  <title>Agent UI</title>
</head>
<body>
  <h2>Ask an Agent</h2>
  <textarea id="prompt" rows="4" cols="50" placeholder="Enter your query here..."></textarea>
  <br><br>
  <button onclick="sendPrompt()">Submit</button>
  <div id="response"></div>
  <script>
    async function sendPrompt() {
      const prompt = document.getElementById('prompt').value;
      const responseDiv = document.getElementById('response');
      responseDiv.innerHTML = "Processing...";
      const response = await fetch("ask", {
        method: "POST",
        headers: {
          "Content-Type": "application/json"
        },
        body: JSON.stringify({ prompt })
      });
      const data = await response.json();
      responseDiv.innerHTML = `<h3>Response</h3><pre>${JSON.stringify(data, null, 2)}</pre>`;
    }
  </script>
</body>
</html>
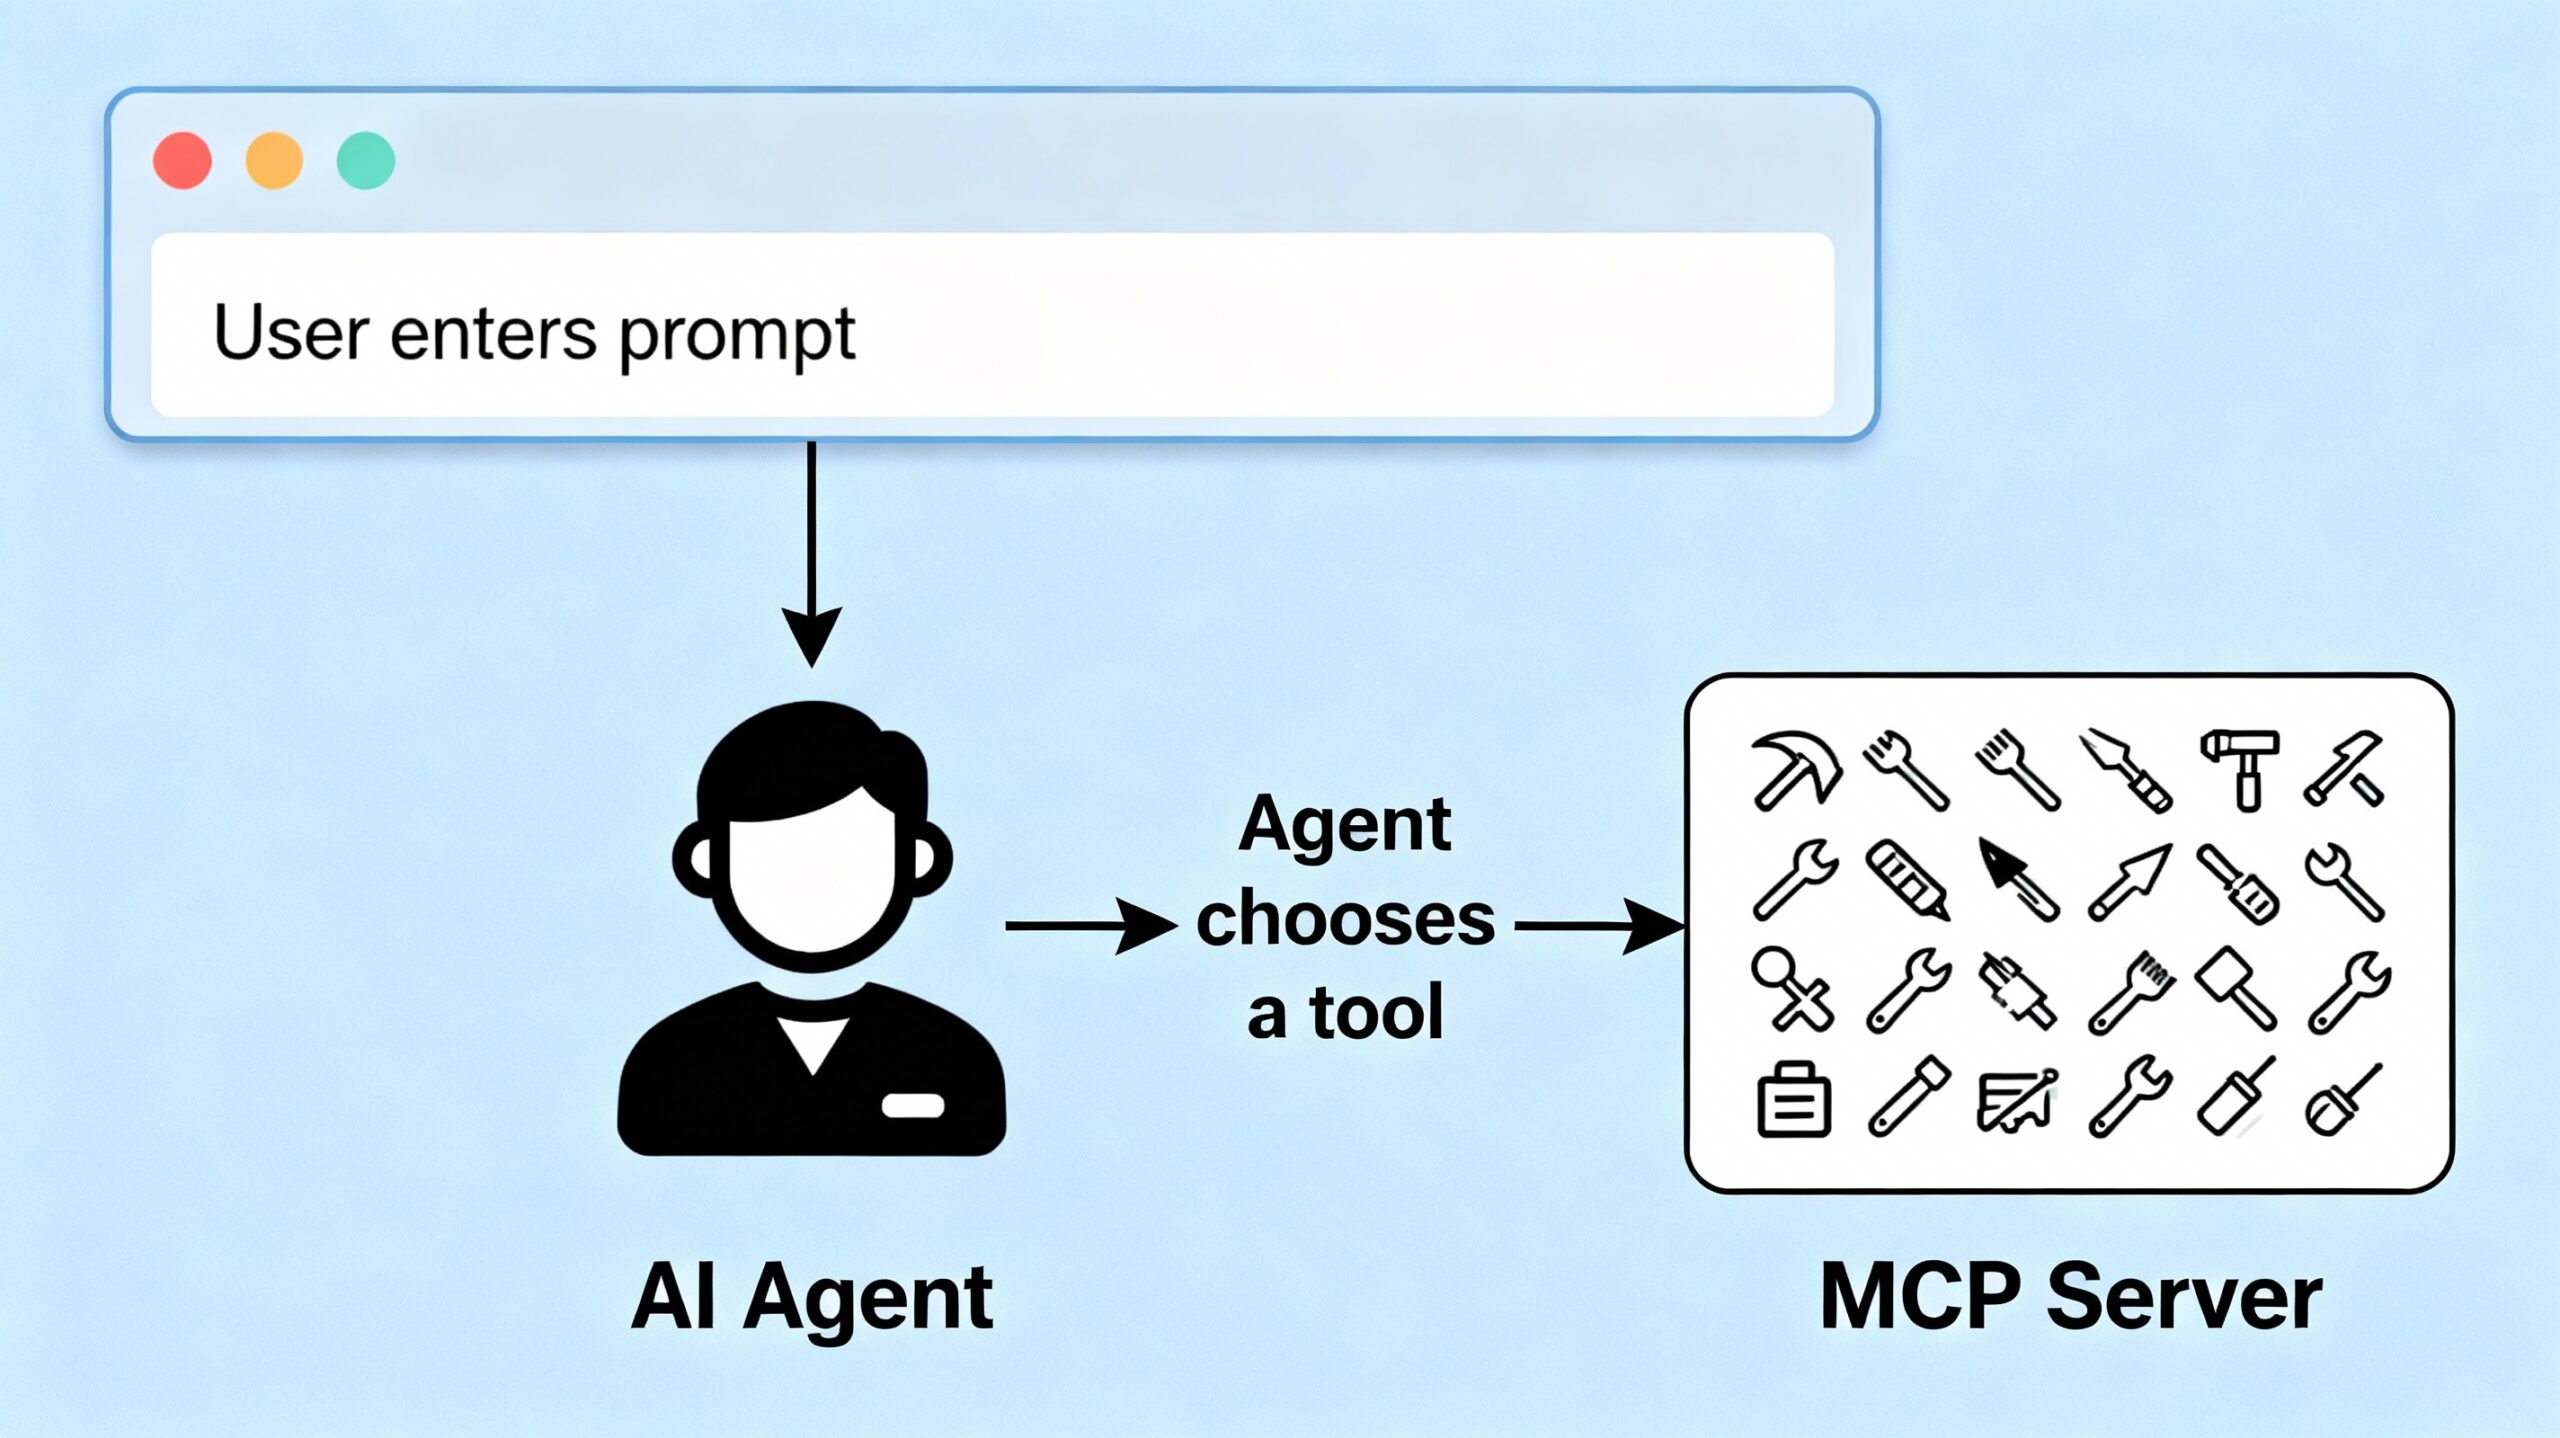
This provides a clean workflow:
- User enters a query in the textbox
- Clicks “Submit”
- The browser sends a POST to the
/askendpoint - The agent processes the query, choosing the appropriate MCP tool and returns a result
The Backend: FastAPI Integration
Your FastAPI app serves the HTML and handles Fetch POSTs:
from fastapi import FastAPI
from fastapi.responses import HTMLResponse

app = FastAPI()

@app.get("/", response_class=HTMLResponse)
async def index():
    with open("index.html", "r") as f:
        html_content = f.read()
    return html_content

@app.post("/ask")
async def ask(request: AskRequest):
    userinput = request.prompt
    response = agent.invoke([
        {"role": "user", "content": userinput}
    ])
    return {"response": response["messages"][-1]["content"]}
Going Further
You can upgrade the interface by:
- Styling with CSS for a better look
- Adding response loading animations
- Displaying conversation history
- Supporting multi-turn conversations
But even with this simple UX, you now have a complete workflow:
- Prompt in UI → Agent → MCP Server → Response shown to user
Conclusion
With your web UX now in place, you’ve created a seamless way to interact with your Langchain agent and MCP server—bringing powerful AI capabilities directly to the user interface. Next, we’ll look at how to evolve your agent with agentic features so it can plan, reason, and take autonomous actions for even richer, context-aware experiences.
You can download all of the code from the following github url.